Color Grading for Beginners: 6 Filmmaking Tips for Working with a Color Grader
One of the final steps of the filmmaking process is also one of the most satisfying stages of the journey—color grading. Color grading is the process of digitally adjusting and manipulating the color of a film or video to create a specific visual aesthetic.
If you’ve ever wondered why the film industry spends thousands of dollars on color correction, it's because artistically changing the color, levels of skin tones, brightness values, mid-tones, shadows, white balance, highlights, contrast, saturation, and exposure can totally transform a film, taking it from dull to dazzling in seconds.
Based on my experiences and best practices, I wanted to share a few filmmaking tips for beginners working with a color grader (or colorist) - the person responsible for color grading - to ensure a smooth and successful collaborative process and achieve a professional and polished look for your next project!
Table of contents:
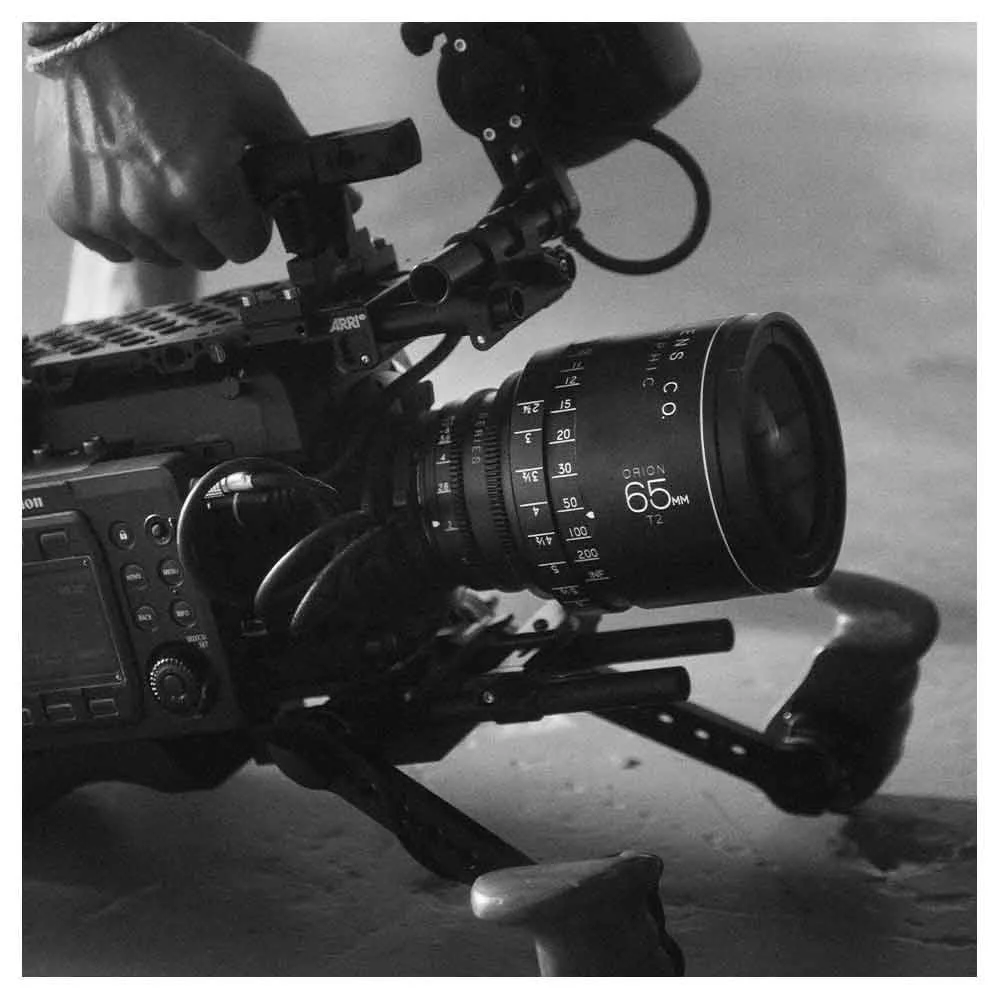
tip 1 — Shoot with the color grading in mind.
Believe it or not, how you shoot your film or video can significantly affect the color correction process. Certain lighting conditions and camera settings can create more work for the color grader, tremendously delaying the color grading and costing you more money down the line.
Preferably, you want to film with a flat color profile. This flat color profile provides a neutral starting point for the color grader, making it easier to adjust and manipulate the color in the software. For example, if you want to make a black-and-white film that is dark in contrast, you don't want to film it in black and white with lots of contrast. Instead, you want to film it in color and ensure everything is well-lit.
This approach gives the colorist room to tweak and find something that works best for the flow of the film. If you've made all the color decisions in advance while filming and decide afterward that something needs to be fixed, there is no way back, and the color grader will only spend their time fixing things instead of making them look better.
By shooting in a way that's mindful of color grading, you can reduce the time and effort required to achieve your desired look. If you want to make sure you hit the sweet spot in terms of the camera settings, you can do some camera tests and send a few print screens to the color grader to test them out in the color grading software and experiment in advance.
tip 2 — Discuss the deliverables in advance.
Before you jump into the color grading suite, you must realize that color grading is usually done in a different software than you or the editor used to cut the film.
Therefore, the color grader must re-build the edit in the color grading software before they can start. To ensure they can do this as fast as possible, you, the producer, or the editor need to discuss the best way to do that in advance and align how they want to have all the raw material delivered.
In my experience, the how is often defined by how the project was shot and edited. For example, I filmed, edited, and directed the I Am Hardwell documentaries with footage from 30 cameras in 24 different formats, aspect ratios, and frame rates.
To make things easy for the color grader, he asked me to make an export of the timeline and send an extra so-called EDL (Edit Decision List) file that would allow the color grader to recreate the cuts of the exported file in the color grading software.
But for a fashion film project like this, we delivered all the raw material to the color grader by courier, including a reference video (with timecode), a countdown slate, and an audio beep, and they recreated the edit in the color grading software using the raw RED camera footage.
A proper color grader will cost you anywhere from $500-$5000 per day, so the earlier you can discuss these deliverables, the faster and easier it will be further down the production line, saving you lots of money at the end of the day.
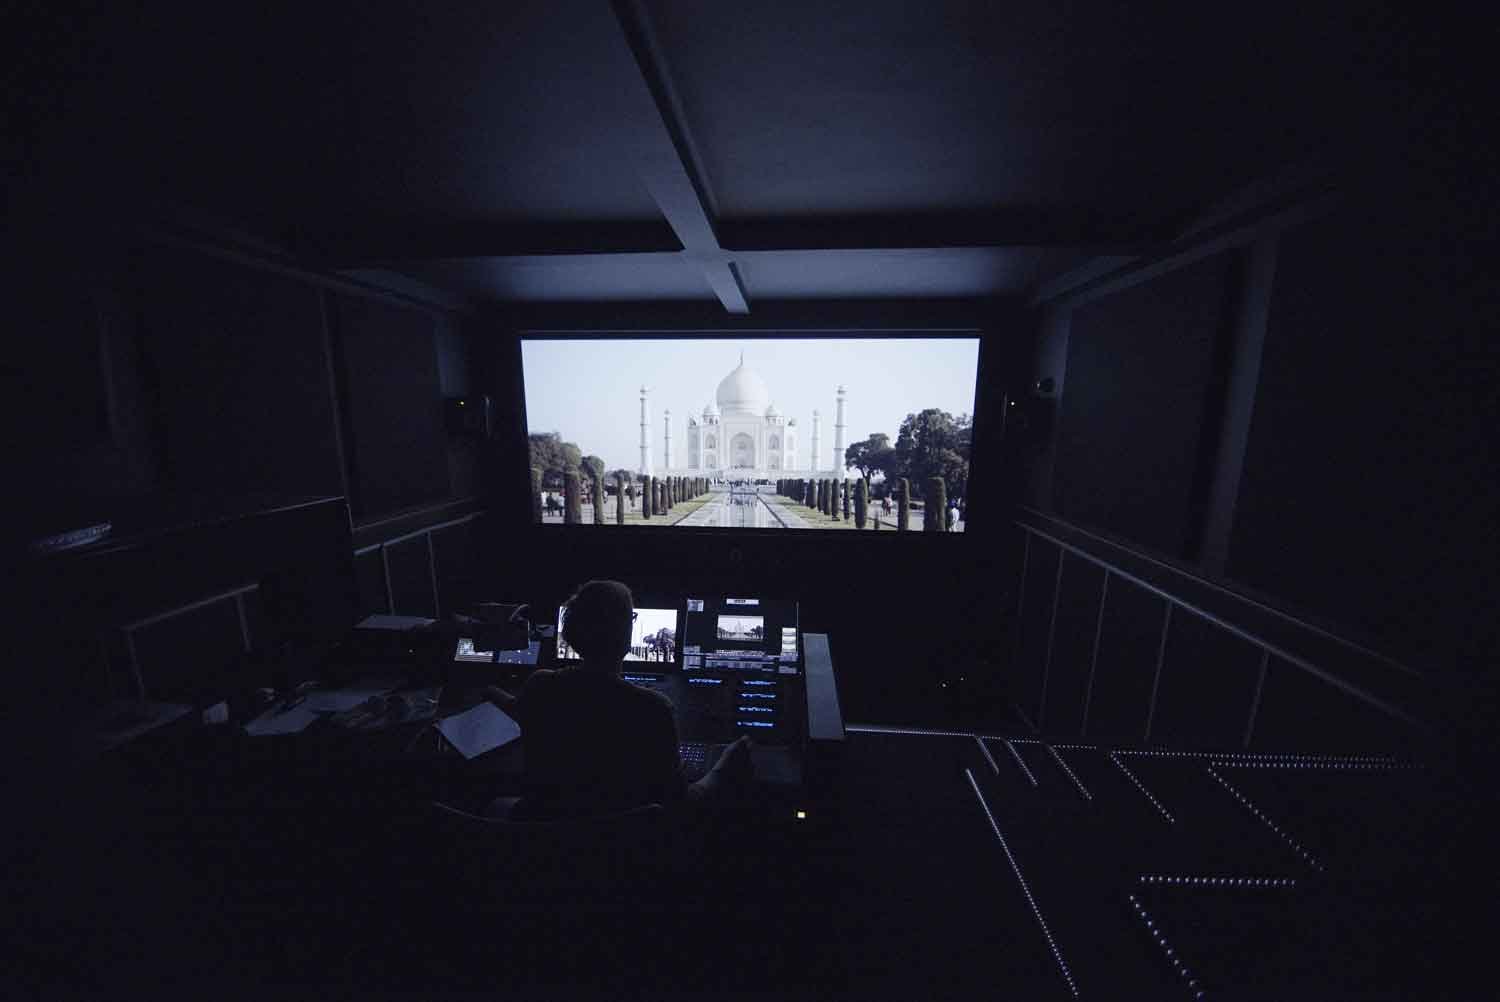
tip 3 — Create the look first, then fine-tune it.
Once you’re in the color grading studio, I know firsthand how tempting it can be to start with color correcting your favorite shots, get lost on rabbit trails, and lose your birds-eye perspective.
What you want to do instead is test different grades on all the footage first to discover the overall look of the project, then fine-tune each shot to fit the overall flow and ensure that the color remains consistent throughout the entire production.
Don’t be afraid to try out different grades and see what works best. Finding the perfect look for your film usually involves several trials and errors.

tip 4 — Use photography books for reference, not videos.
The advantage of working with a color grader is that you don’t have to understand all the color theory and technical capabilities of the color grading equipment. Your task is to know what you want so the color grader can give you what you need.
To help the color grader understand your desired aesthetic and visual tone, it can be helpful to provide reference images, such as stills from other films or photographs, that capture the look and feel you are aiming for.
At the beginning of collaborating with a color grader, I would always show them my favorite videos as a visual reference to communicate my vision. But as videos are dynamic, constantly changing color palettes, it was tough for them to understand precisely what I had in mind.
You preferably want to provide the color grader with reference materials, such as still images, that demonstrate the look you are going for can be helpful. In my experience, photography coffee table books are the perfect tool to help you do that.
Especially if you can get your hands on several photography coffee table books from the same photographer for a project, you can easily use post-its to mark specific pages in the book and show them as a reference to the color grader.

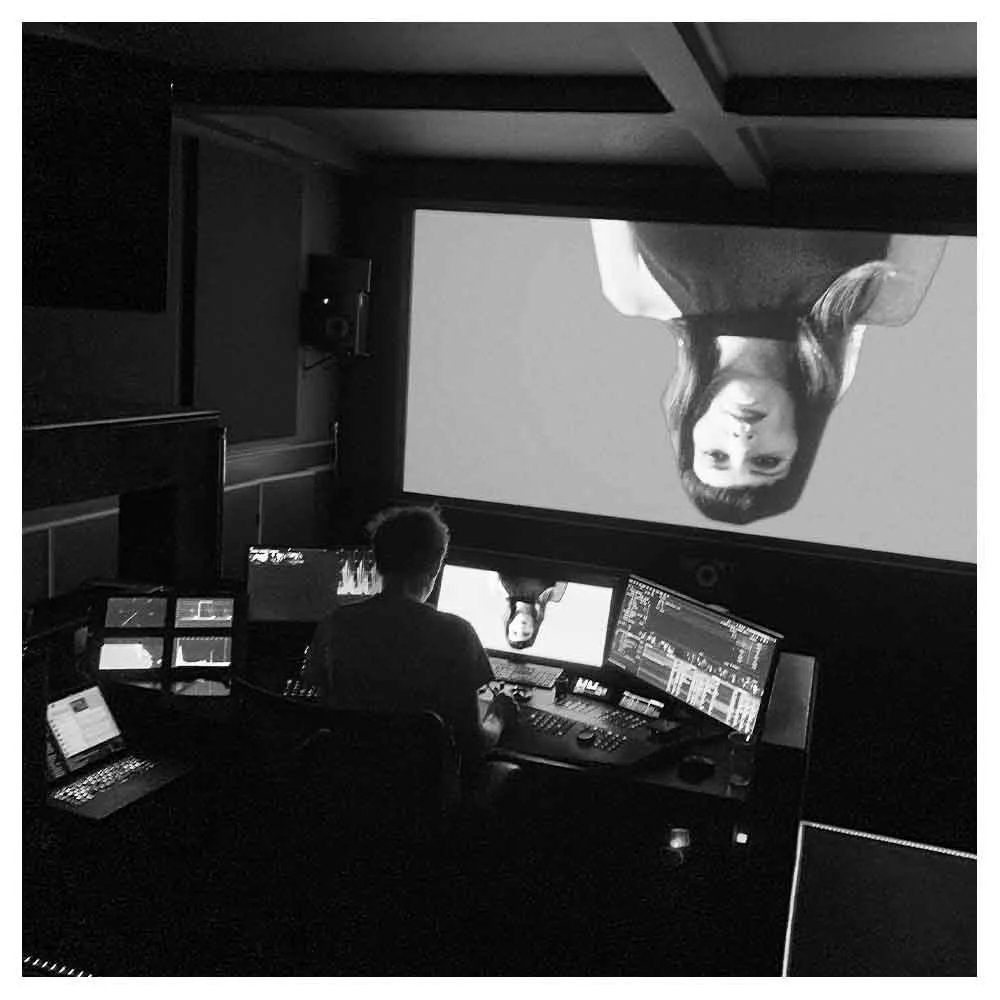
tip 5 — Embrace breaks outside.
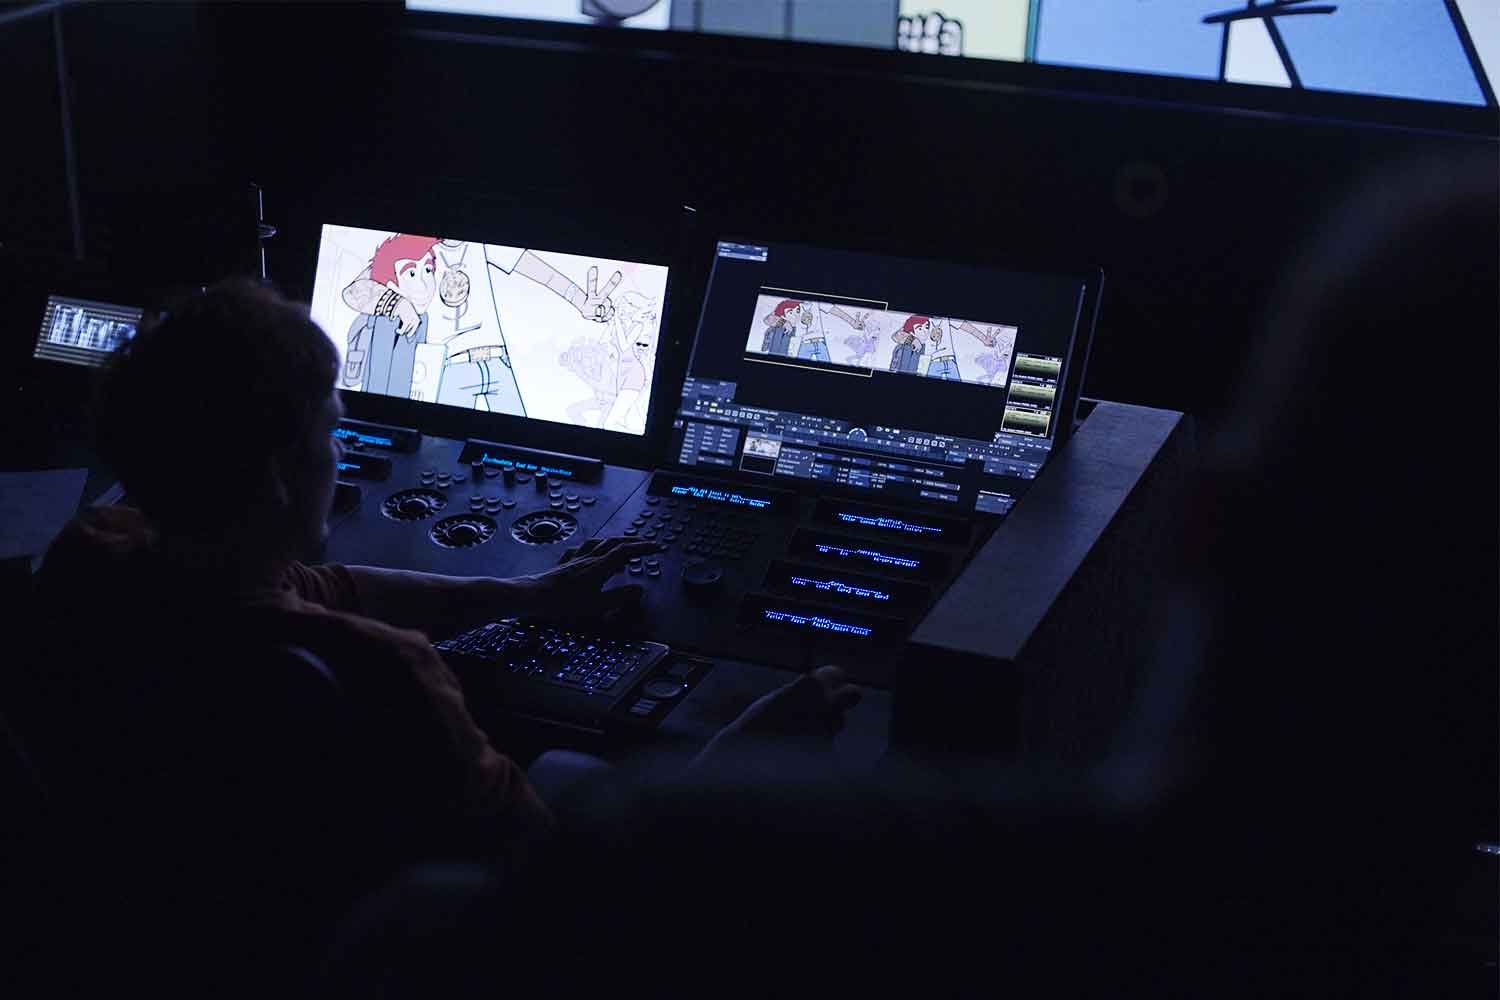
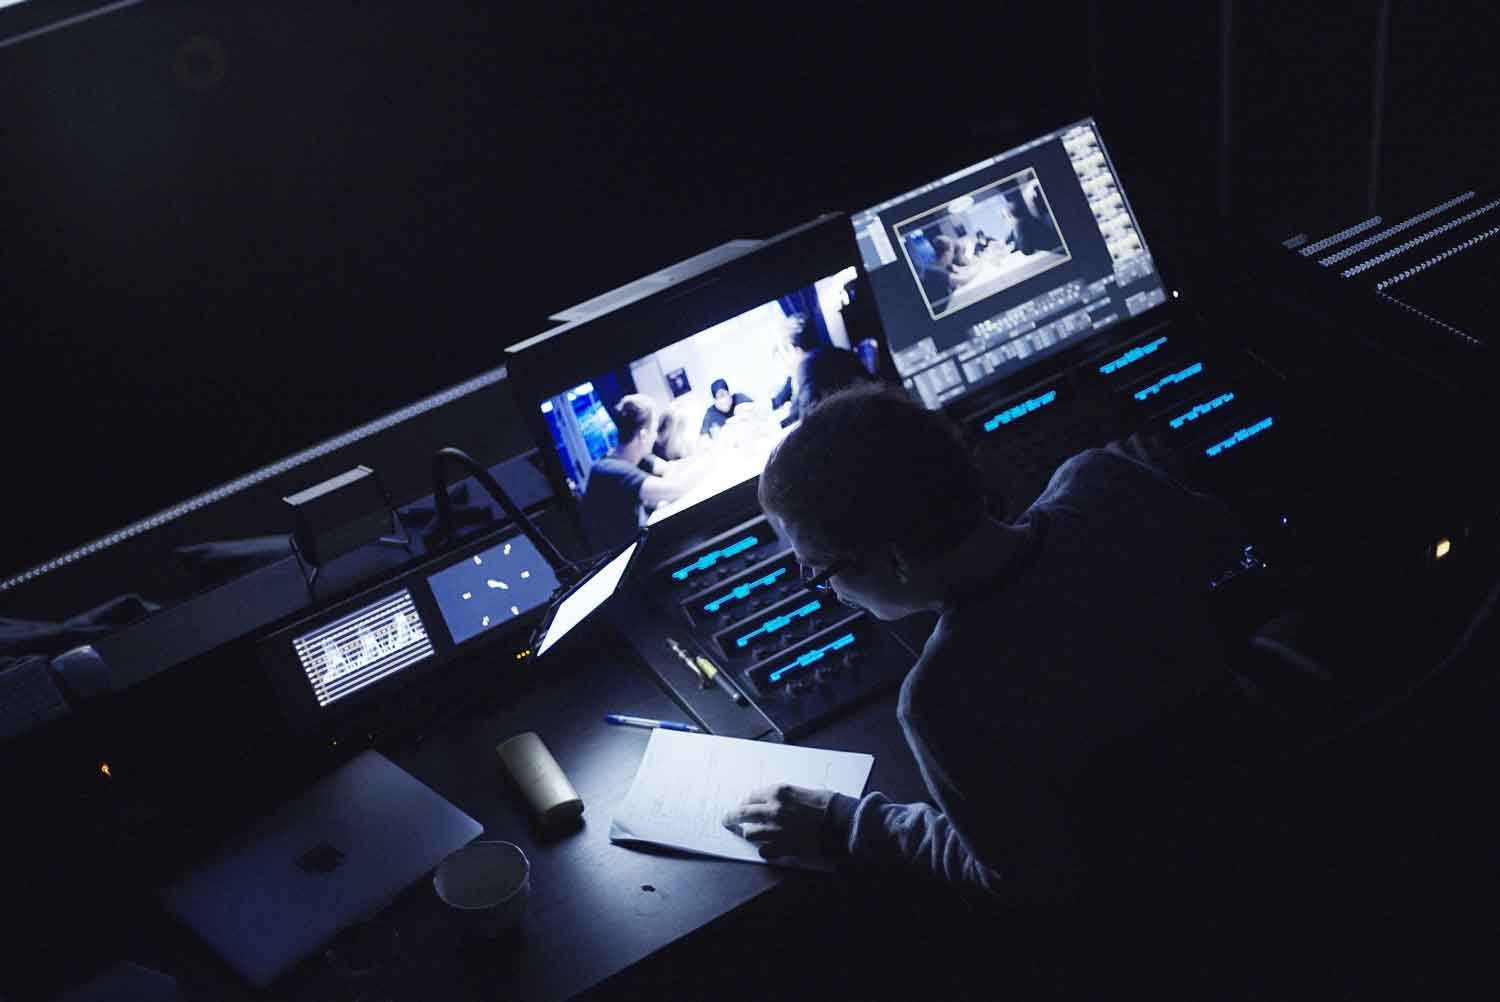
The process of color grading can be intense and time-consuming, especially because it takes place in a dark room with a specially calibrated screen—tiring out the eyes.
I’ve experienced that it is important to take breaks every one or two hours, go outside and reset your eyes in daylight, and return to the dark studio with a fresh perspective. This will help ensure that you are making informed decisions and not getting too bogged down in the details.

tip 6 — Trust the color grader’s expertise.
While having a clear vision for your film is essential, I believe it is also important to keep an open mind and utilize the color grader’s expertise. They may have ideas and insights that can enhance the look of your film in ways you hadn’t considered.
They have the skills and knowledge to create a cohesive and visually appealing grade for your film, so be open to their suggestions and trust their judgment.

Conclusion
I hope that by following the tips outlined above, you will be able to effectively collaborate with a color grader to achieve the desired aesthetic for your film.
By understanding the process, communicating your vision using the right reference material, and shooting with color grading in mind, you'll work effectively with a color grader to achieve the look and feel you envision.
If you want to experiment with the color grading yourself first, or if you, like me, don’t have the patience to do it yourself, I suggest having a good LUTs library. A LUT (Lookup Table) is a file that contains a set of preprogrammed color adjustments that can be applied to a film or video. It’s essentially a color-grading shortcut that can color-correct a film frame automatically.
Having a good library of LUTs can save time and effort during the color grading process. LUTs can be used as a starting point for the color grader, which can then be fine-tuned to achieve the desired look.

Frequently Asked Questions (FAQs) About Color Grading
What is color grading?
Color grading is adjusting the color, contrast, and other visual elements of a film or video project to achieve a desired aesthetic. It is typically done during post-production and can significantly impact a film's overall look and feel.
Who is responsible for color grading?
A color grader, also known as a colorist, is typically responsible for color grading a film or video. The color grader works closely with the director and cinematographer in a color grading studio to achieve the desired aesthetic and bring the filmmaker's vision to life.
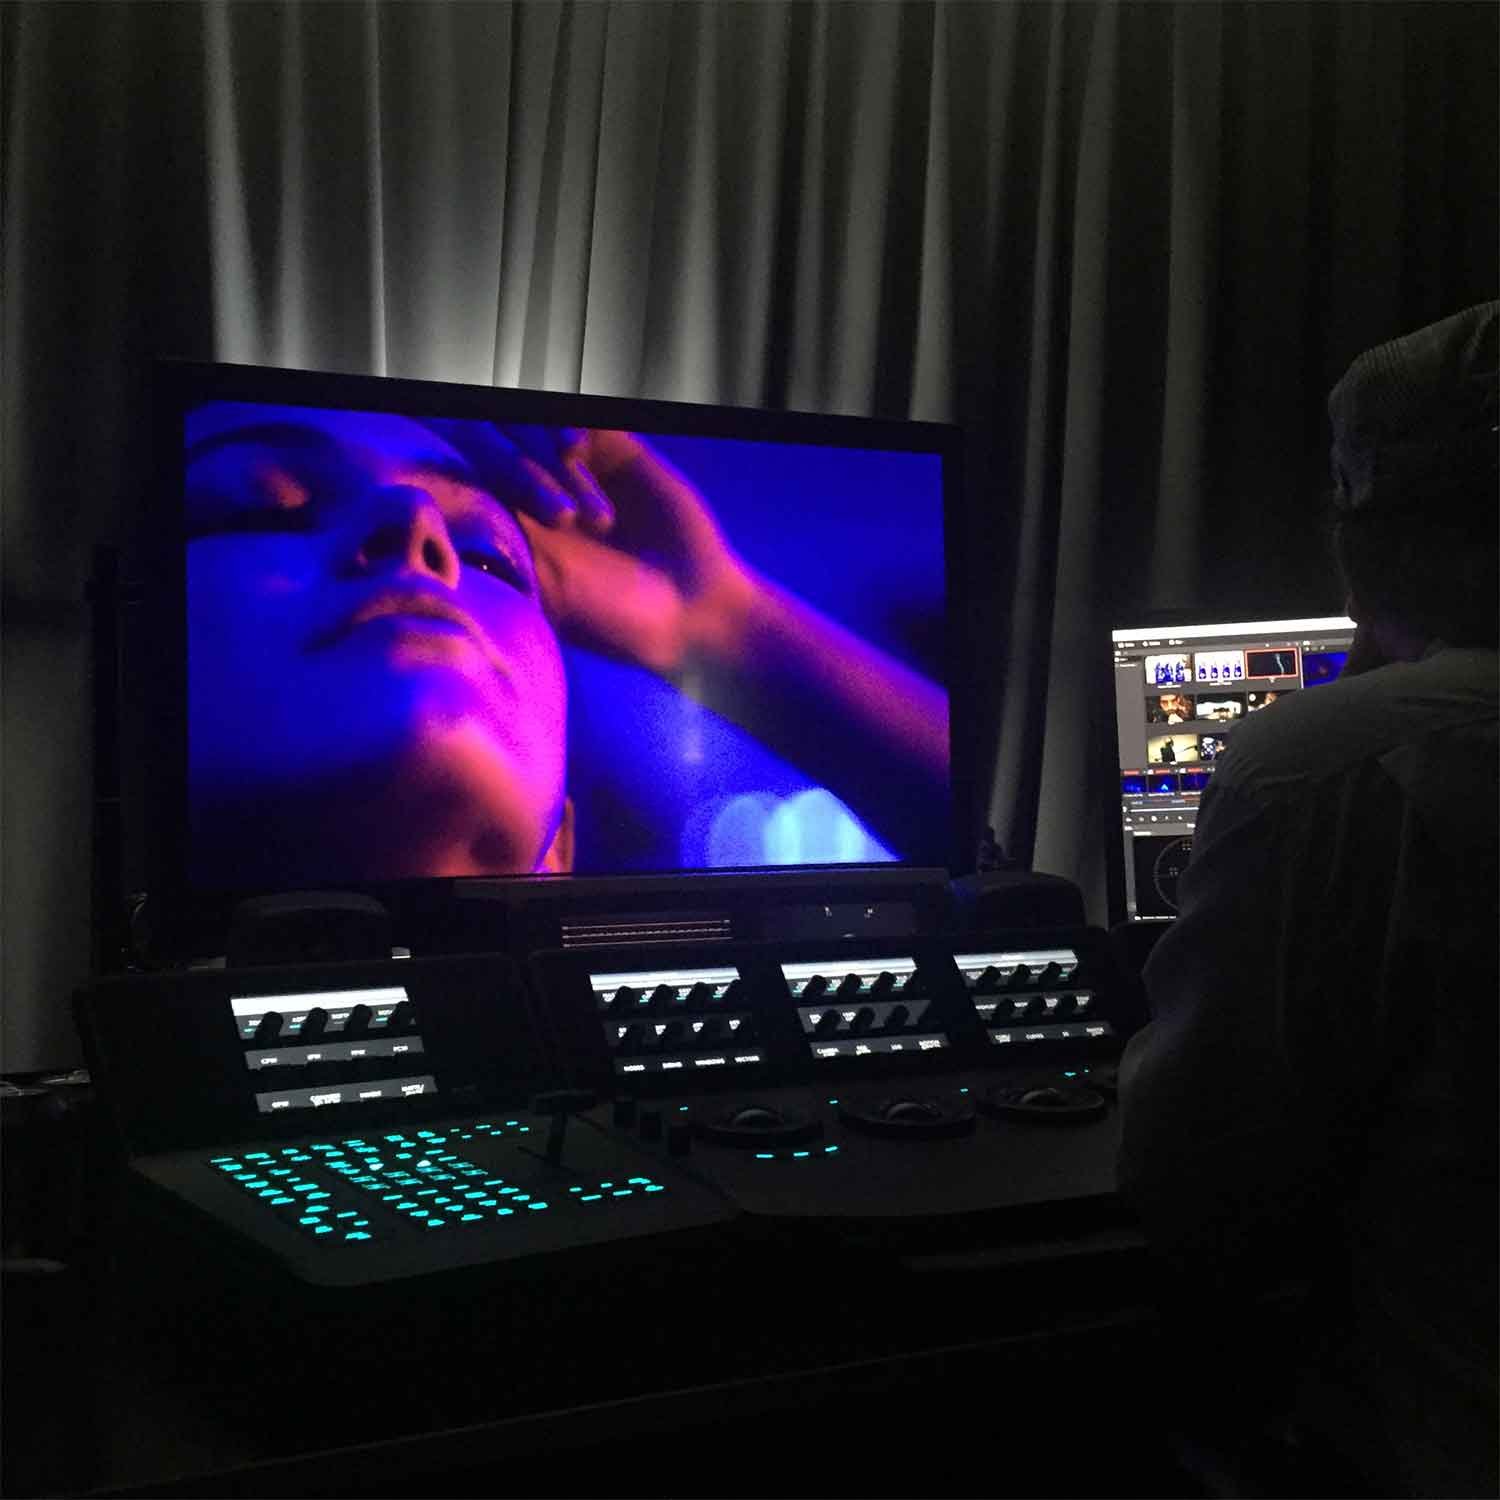
What tools are used for color grading?
Color grading is typically done using specialized digital color grading tools such as Baselight, Scratch, or DaVinci Resolve. These programs allow the color grader to make precise adjustments to the color and other visual elements of the film or video, creating a visually appealing and consistent look. Color grading in adobe premiere or other video editing software programs is a more budget-friendly color-correcting option that filmmakers often use.
How long does the color grading process take?
The length of the color grading process can vary depending on the complexity of the project and the desired aesthetic. It is typically done during the post-production process and can take anywhere from a few days to several weeks.
Can the color grade be changed after the film is released?
It is possible to change the color grade of a film or video after it is released, but it is generally more time-consuming and challenging. Getting the color grade right during the post-production process is essential to avoid needing any significant changes later on.
How does the color grade impact a film's overall look and feel?
The color grade can significantly impact a film's overall look and feel. It can be used to create a specific mood or atmosphere, to establish the time of day or location, or to convey a particular emotion or theme.
What should I consider when collaborating with a color grader?
When collaborating with a color grader, it is vital to be clear about your desired aesthetic and overall look for the film. Visual references like photos, stills, and paintings help create the desired color palette. It helps to test different color grades to find the right look for the project, take breaks in between to reset your eyes, trust the color grader's expertise, and stay open to iteration.